Ned’s Picks: 10 Best Pumpkin & Halloween Decoration Tips

It’s October, which means the season of Halloween is upon us. We all know this isn’t a one-day event: it’s time for having that pumpkin carving party, going to costume parties, loading up on candy, and decorating our homes with the most fun decorations we get to have all year. In the midst of the chaos of the regular hustle and bustle, sometimes we put off these things or don’t do them at all. But it’s important to remember that we all require balance in our lives—and Halloween isn’t really just meant for kids.
Here are some tips for this upcoming Halloween to help homeowners have the most fun and the least amount of stress getting there.
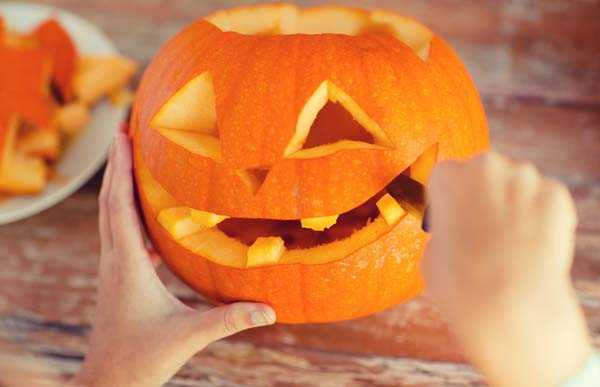
Yes, carve the pumpkin. Just do it and don’t worry about the mess or the amount of time it takes. Get in touch with your creative (or perhaps mischievous) side, grab a pumpkin, and make an evening out of it. It doesn’t have to be a big to-do for it to be fun. In fact, it’s probably better off that way. The best part is, a nicely carved pumpkin or two is the perfect Halloween decoration for your home, saving you a nightmarish trip to the department store.
Here are 6 things to remember when you’re planning to carve a pumpkin to decorate your home.
- Make sure you grab a pumpkin with a stem because it makes it easier to hold and anchor onto when you’re carving.
- Don’t judge the weirdly shaped pumpkins—sometimes those are the best ones and inspire more unique designs. But don’t overthink it.
- Have a plan for your design! This is a fun activity, but as with everything, make sure you have a plan of what you want to do. Draw out what you plan to carve before you dive in. And don’t hold back!
- Keep a spray bottle of water handy. The pumpkin starts losing moisture almost immediately, so to keep it vibrant and easy to carve, be sure to spray the pumpkin with water to keep it wet.
- Wait to carve. Don’t be in a rush to carve the pumpkin. Remember it’s a perishable food item that starts decomposing as soon as you start. So wait until you’re a few days out from displaying the pumpkin and then work efficiently once you start.
- Use a kid’s pumpkin carving kit. You don’t have to be all fancy. Honestly, some of the best carvers have said they can’t get much better than what comes in the kid’s pumpkin carving kits.
- Wear rubber gloves. No need to get extremely dirty during the process. Unless you want to. Then have at it. This is your pumpkin carving party.
- Scoop everything out. Don’t leave any pieces, no matter how little they seem, inside the pumpkin. This will mold that will spread all over the walls of your masterpiece.
- Don’t get rid of the top! Your pumpkin still needs it. The top, which is a vine, provides nutrients to the pumpkin to keep it from drying out sooner.
- Light ‘em up with LED or CFL lights. These electric lights are very bright but don’t give off a lot of heat. This is important because you want to keep the pumpkin as cool as possible, so as to not start cooking it.


